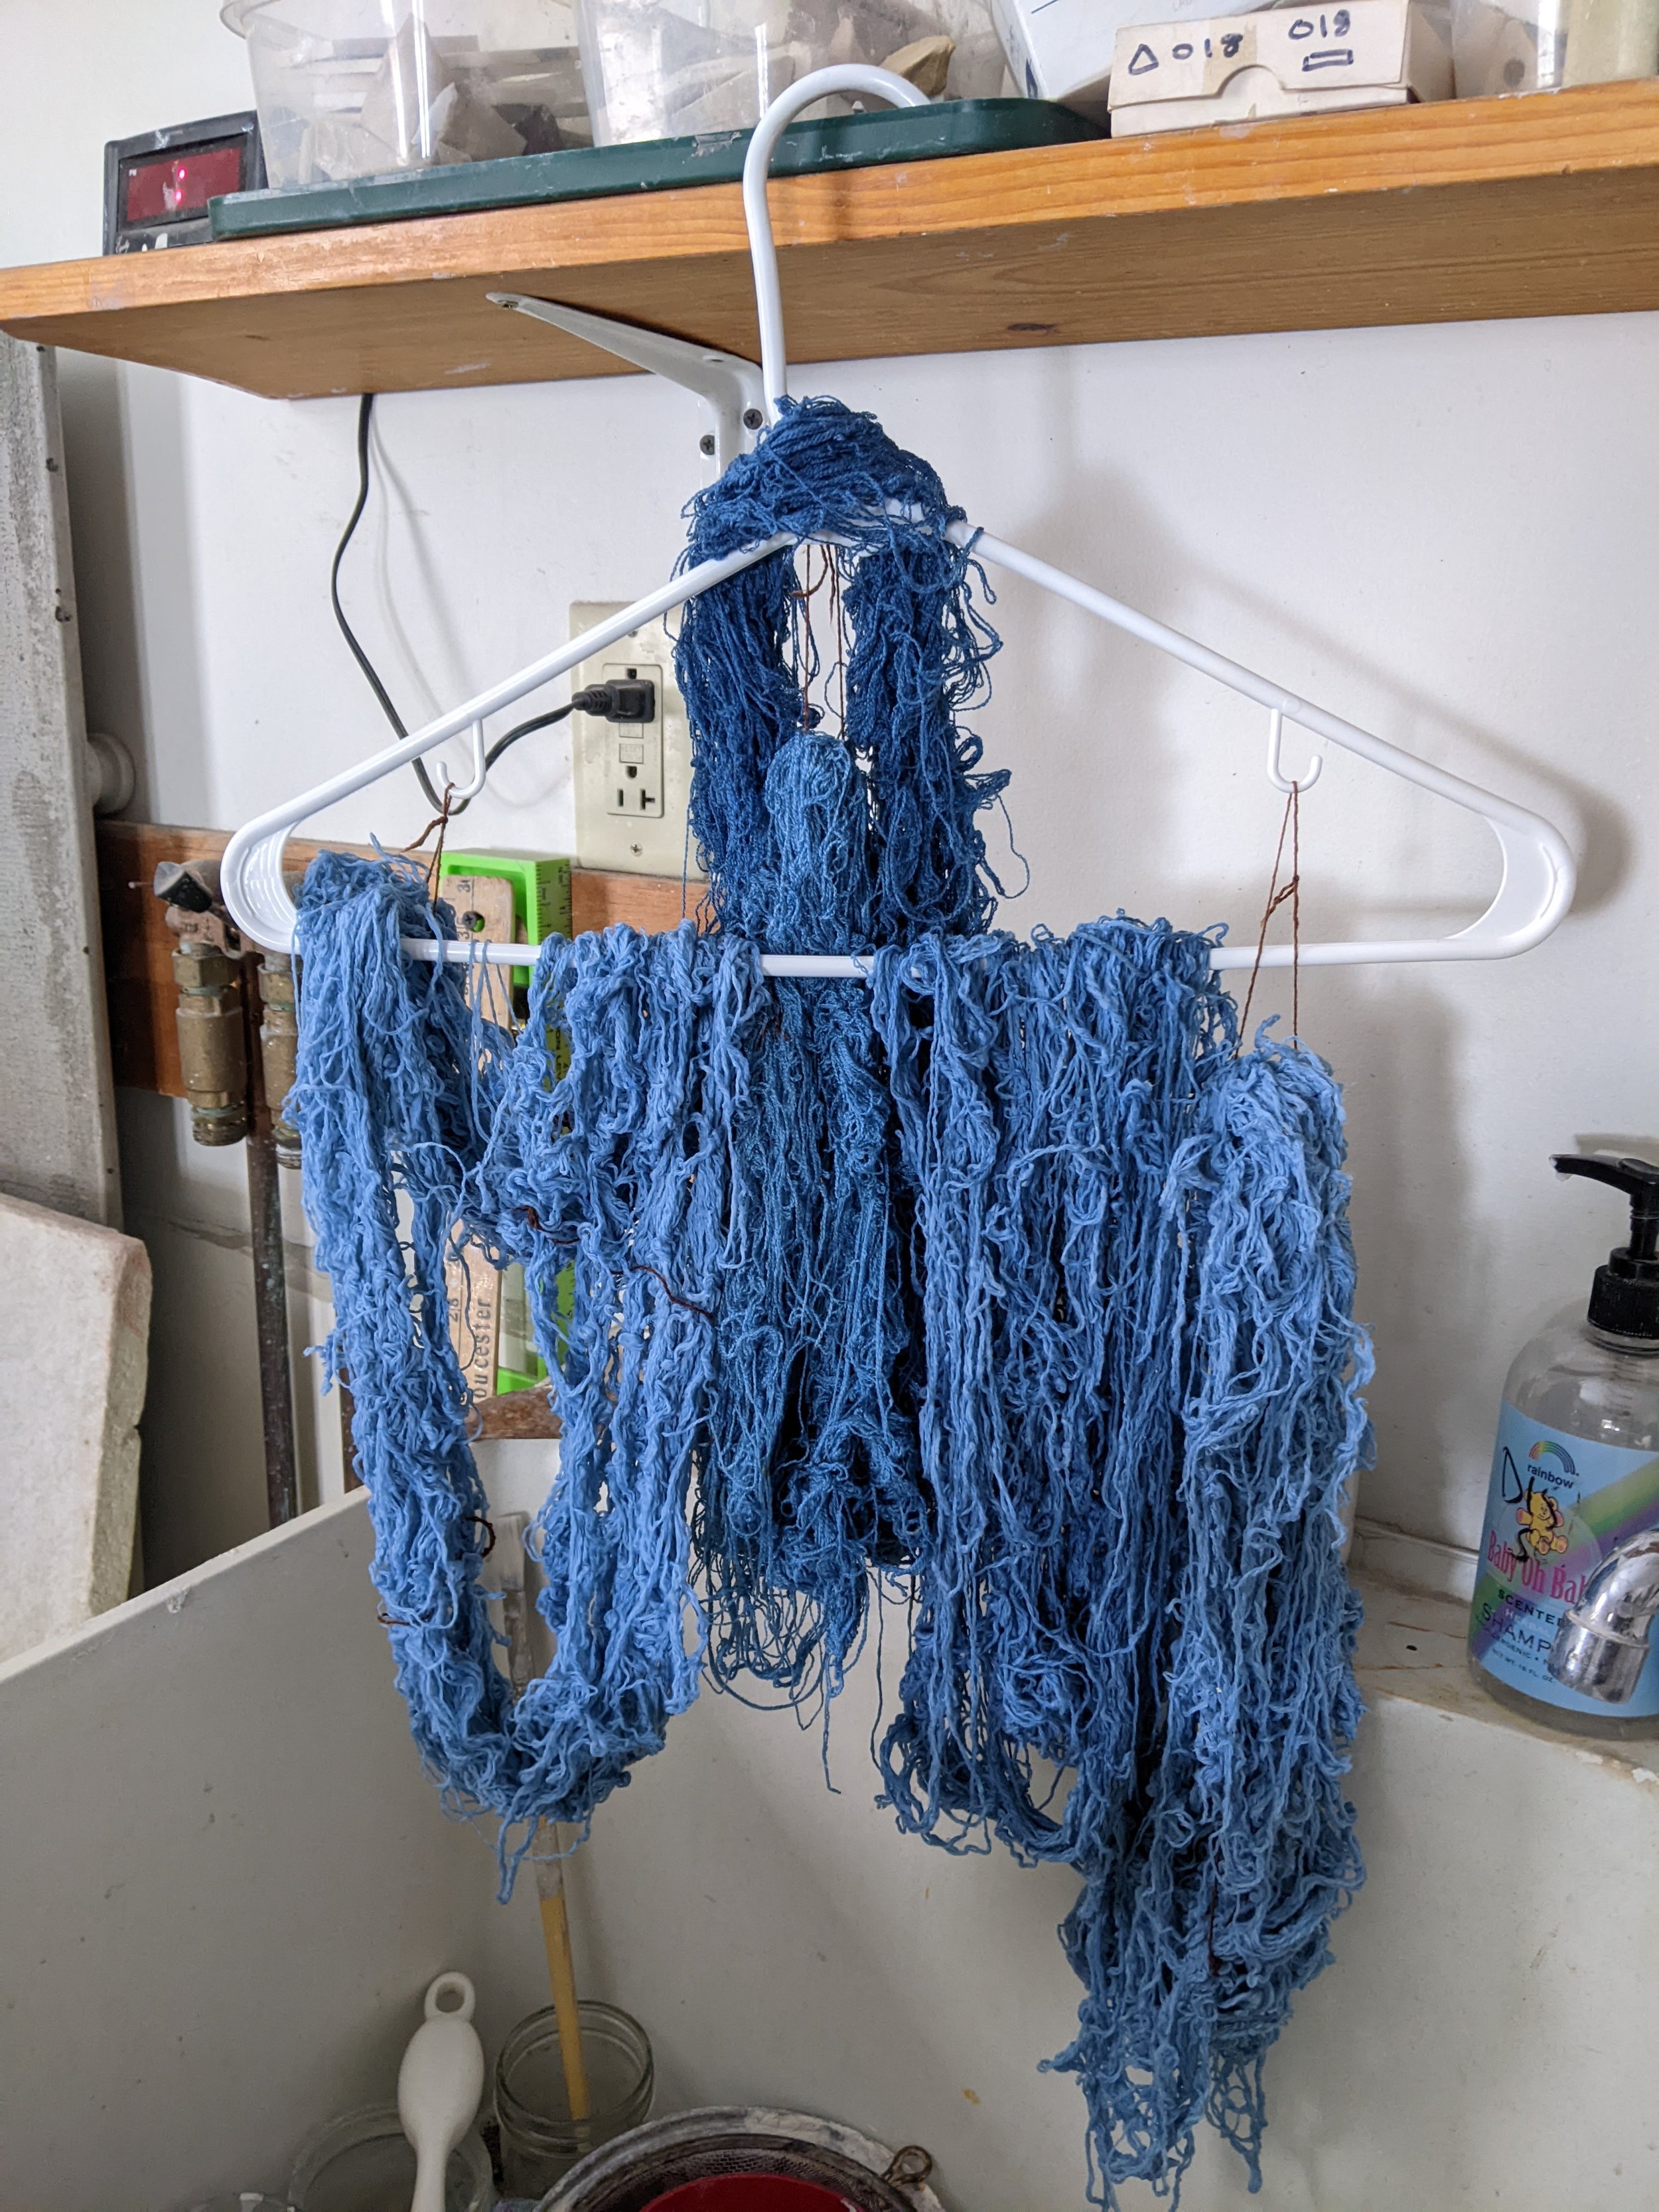
Today’s spinning brings the Clun Forest total up to about 500 yards. I’m spinning more than I’ll need for this project—nothing worse than estimating how much you’ll need for a project and then realizing you’ve come up short—then secure the yarn into relatively small, loosely tied hanks. They aren’t quite as tidy as the beautiful skeins one brings home from the yarn store—these are intended to be easy to prepare for scouring, mordanting and dying. In the background of everything I’ve described so far (choosing wool, spinning, developing a concept and design) is my dye preparation. Within the seasonal rhythm of the studio, late winter is when I’m inventorying what dyestuff I still have in the chest freezer, considering what dye plants I need to grow more of in the upcoming season, and planning out the next year of growing or foraging.
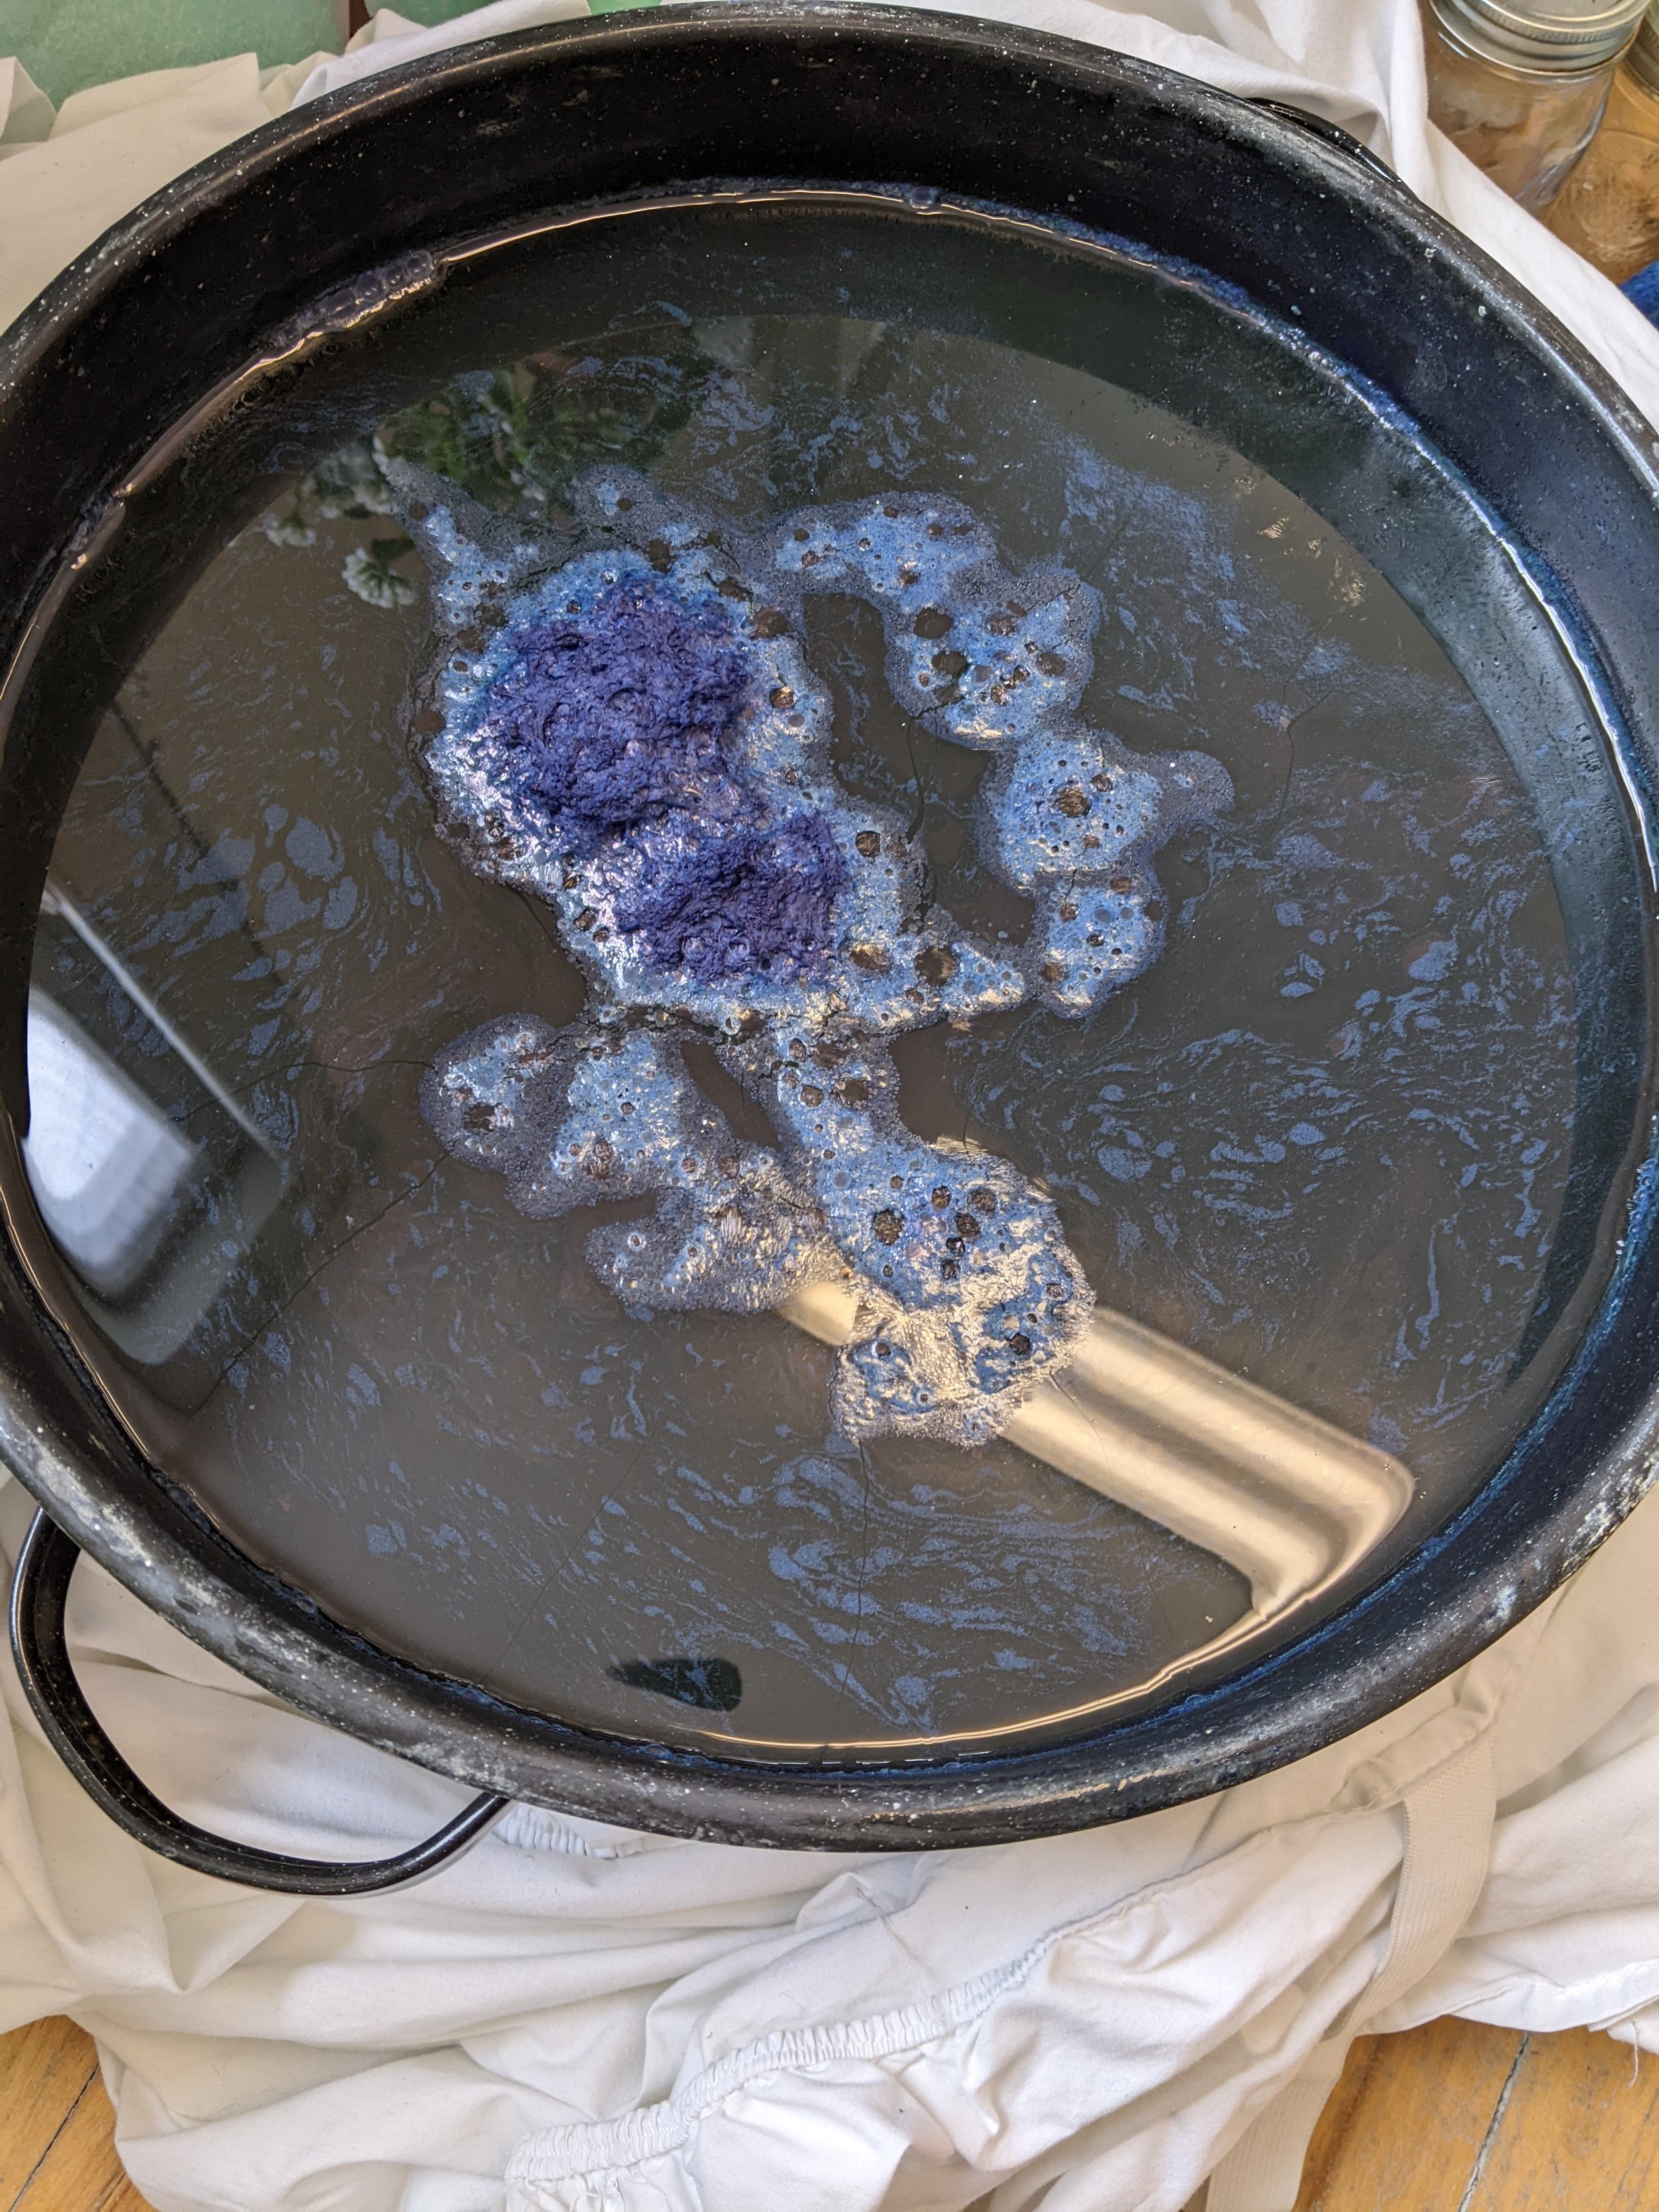
Even though I don’t have a sense of what colors I’ll be using in this blanket, I do need a dye kitchen and pantry of items that will be prepared and ready when I start to plan color. I typically have a team of plants I use for reds, yellows, browns and greys that can be made within a one-day window (assuming I’ve got the plants available.) Blues, however, are a different story. In the background, I’ve been maintaining my indigo vat.
If you’re relying on plant-based dyes, blues are primarily achieved by using a range of plants within the Indigofera genus. I’ve grown Japanese Indigo and love their bright jewel-green leaves and tiny pink flowers, but the scale of leaves needed for regular use require more growing space than I’ve got available. I’ve bought indigo from several suppliers and would strongly encourage purchasing from Stony Creek Colors if you want a high quality, domestically grown indigo or Maiwa, a Canadian company with a solid history of ethically sourcing its dye plants.
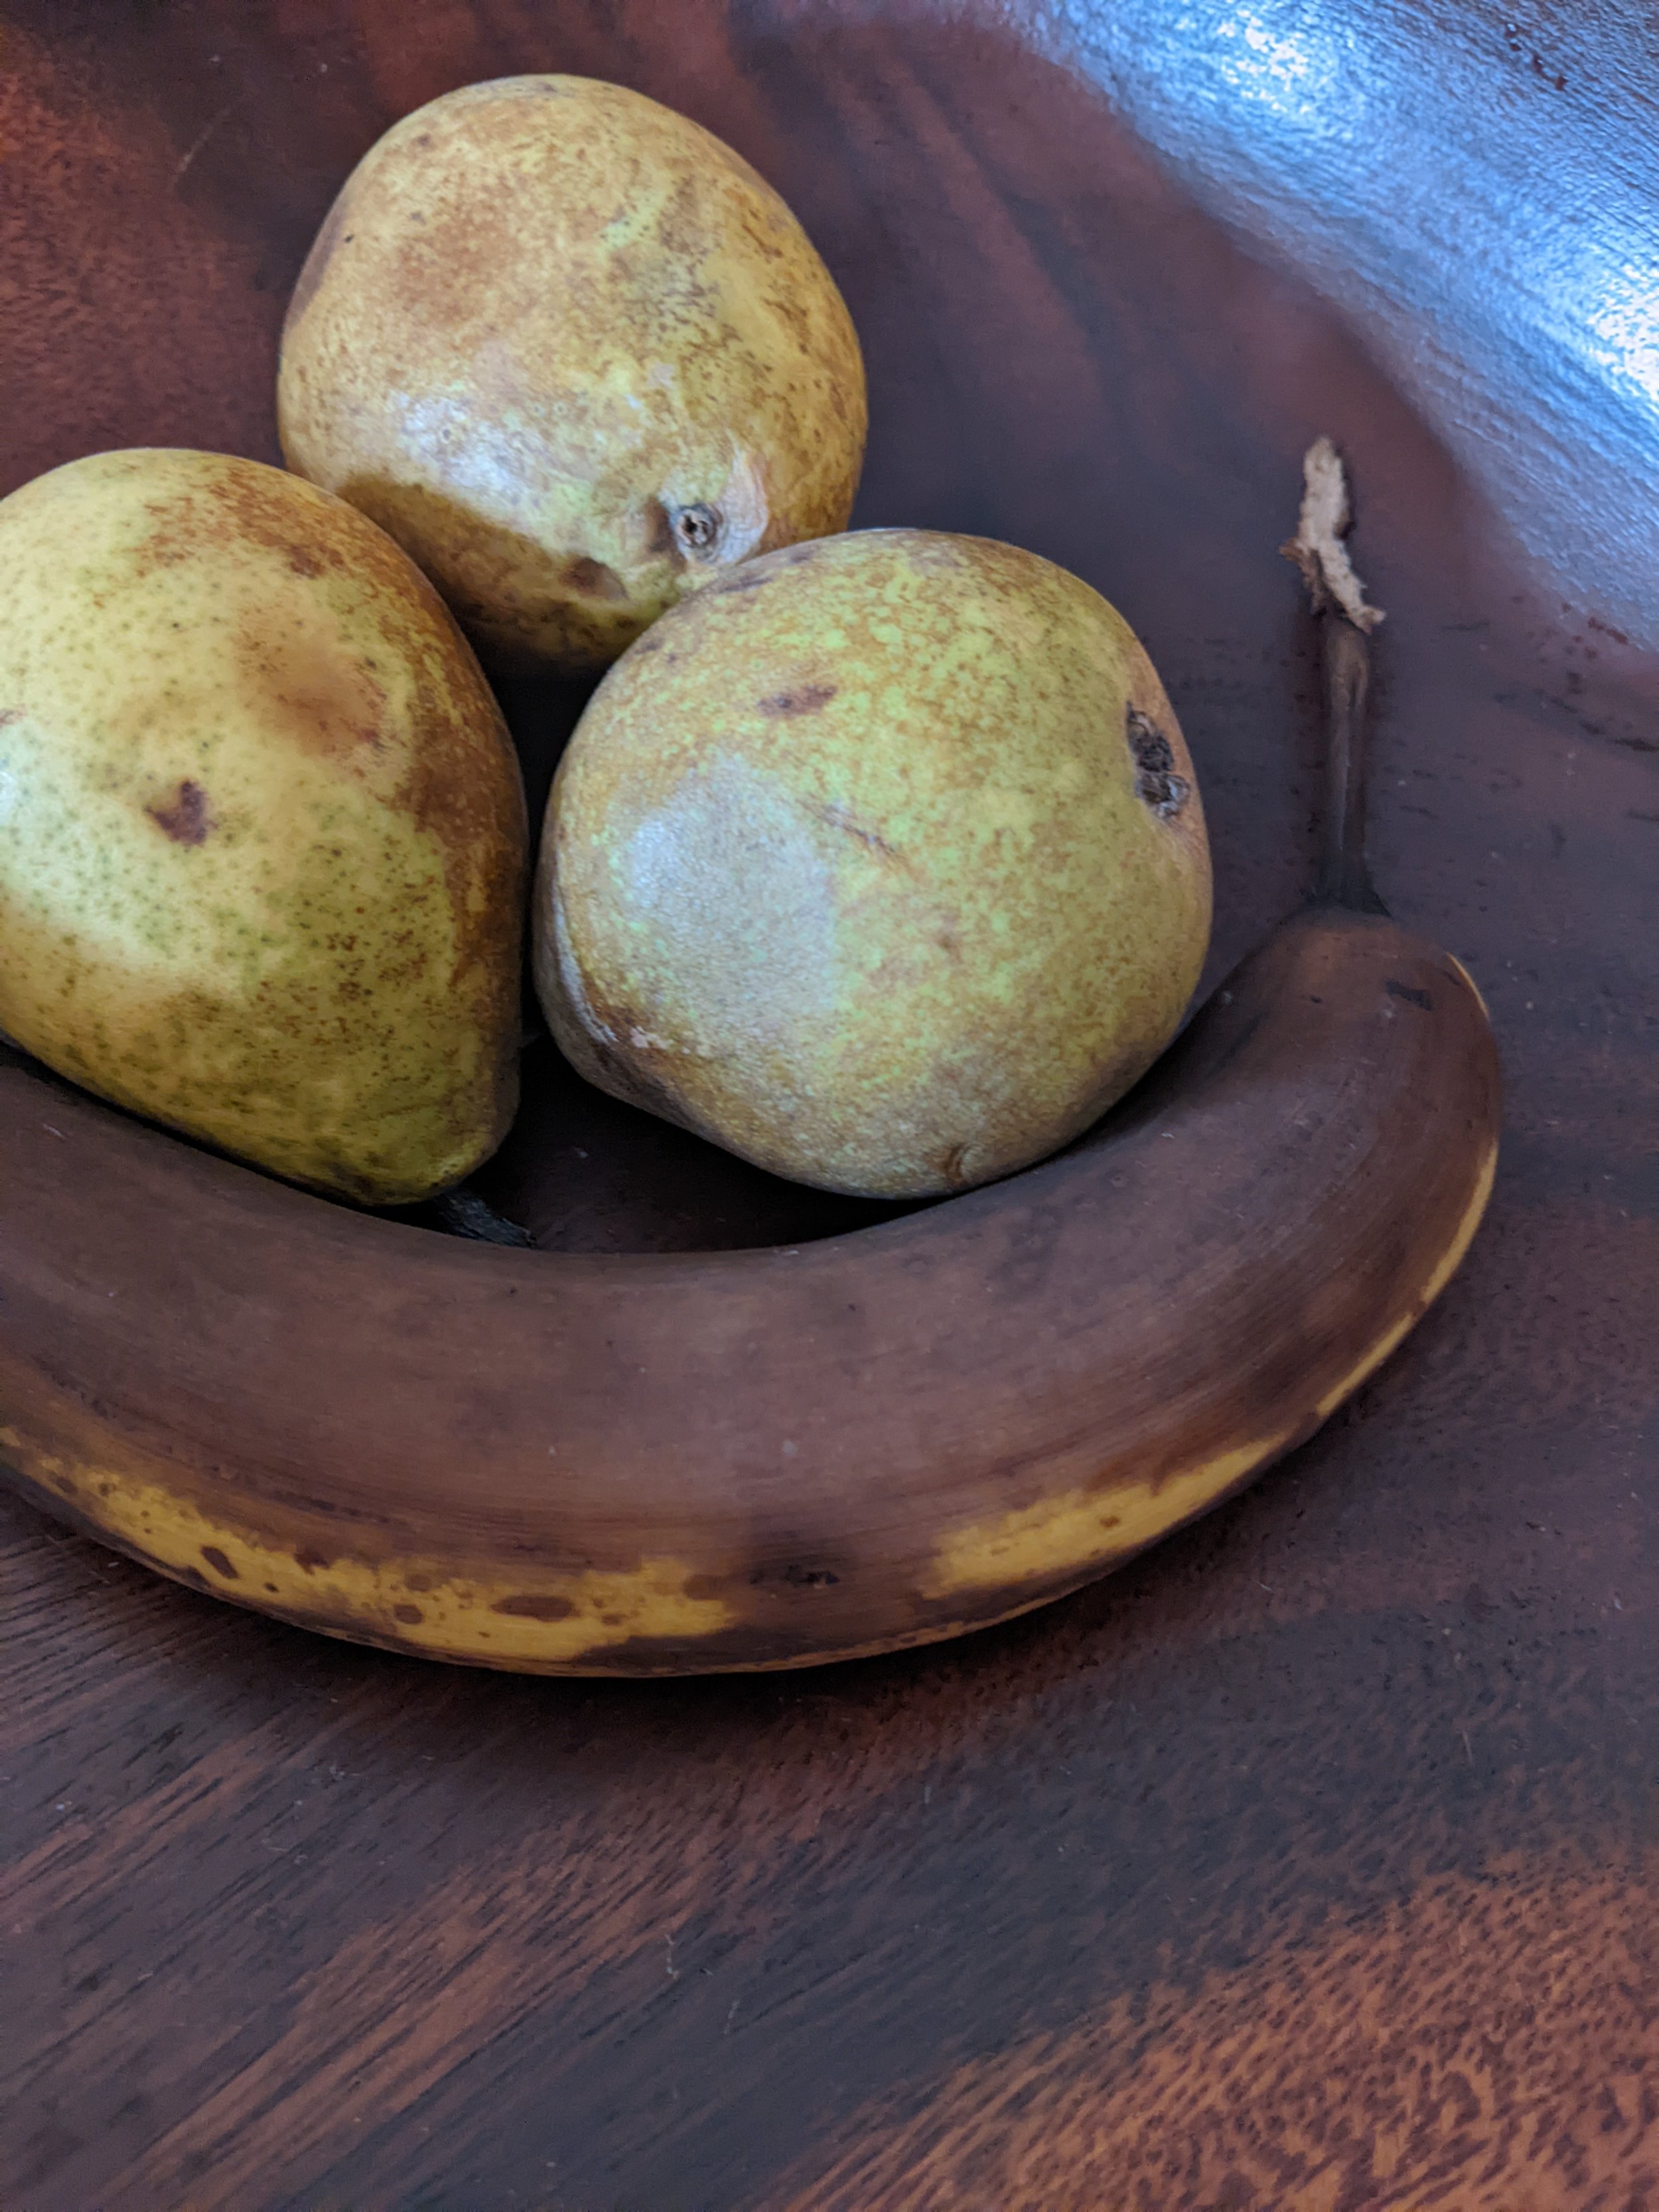
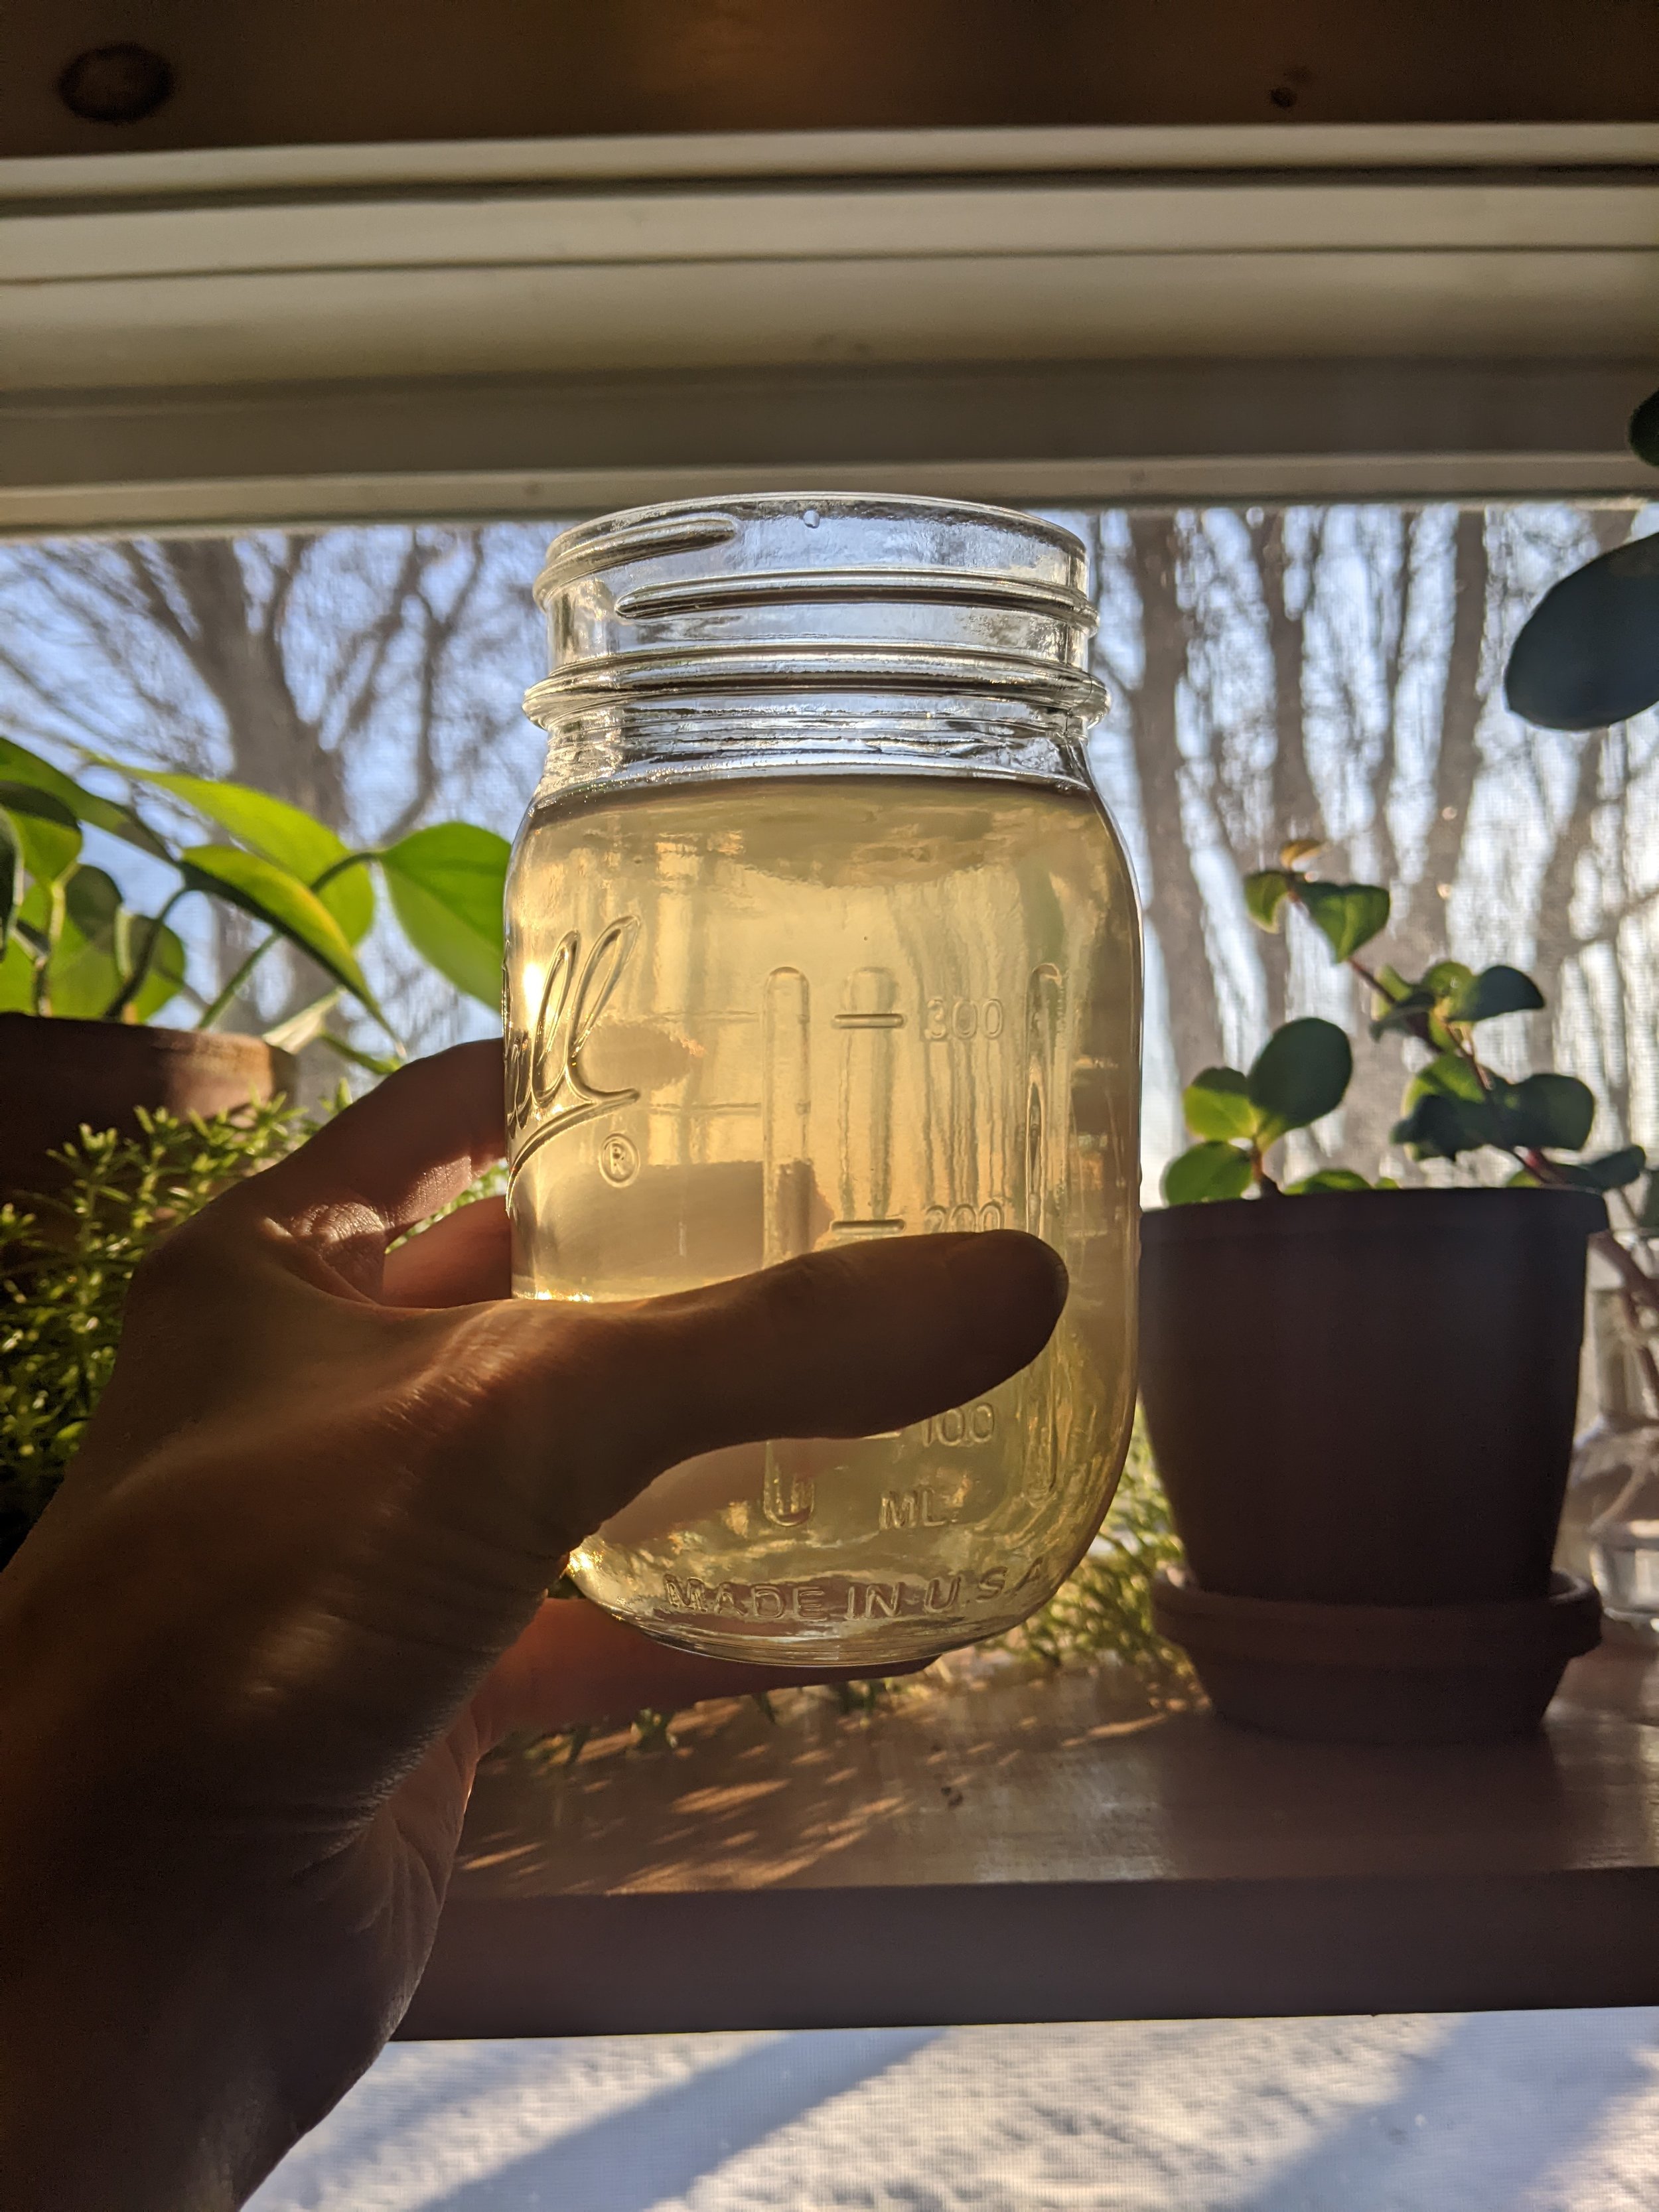
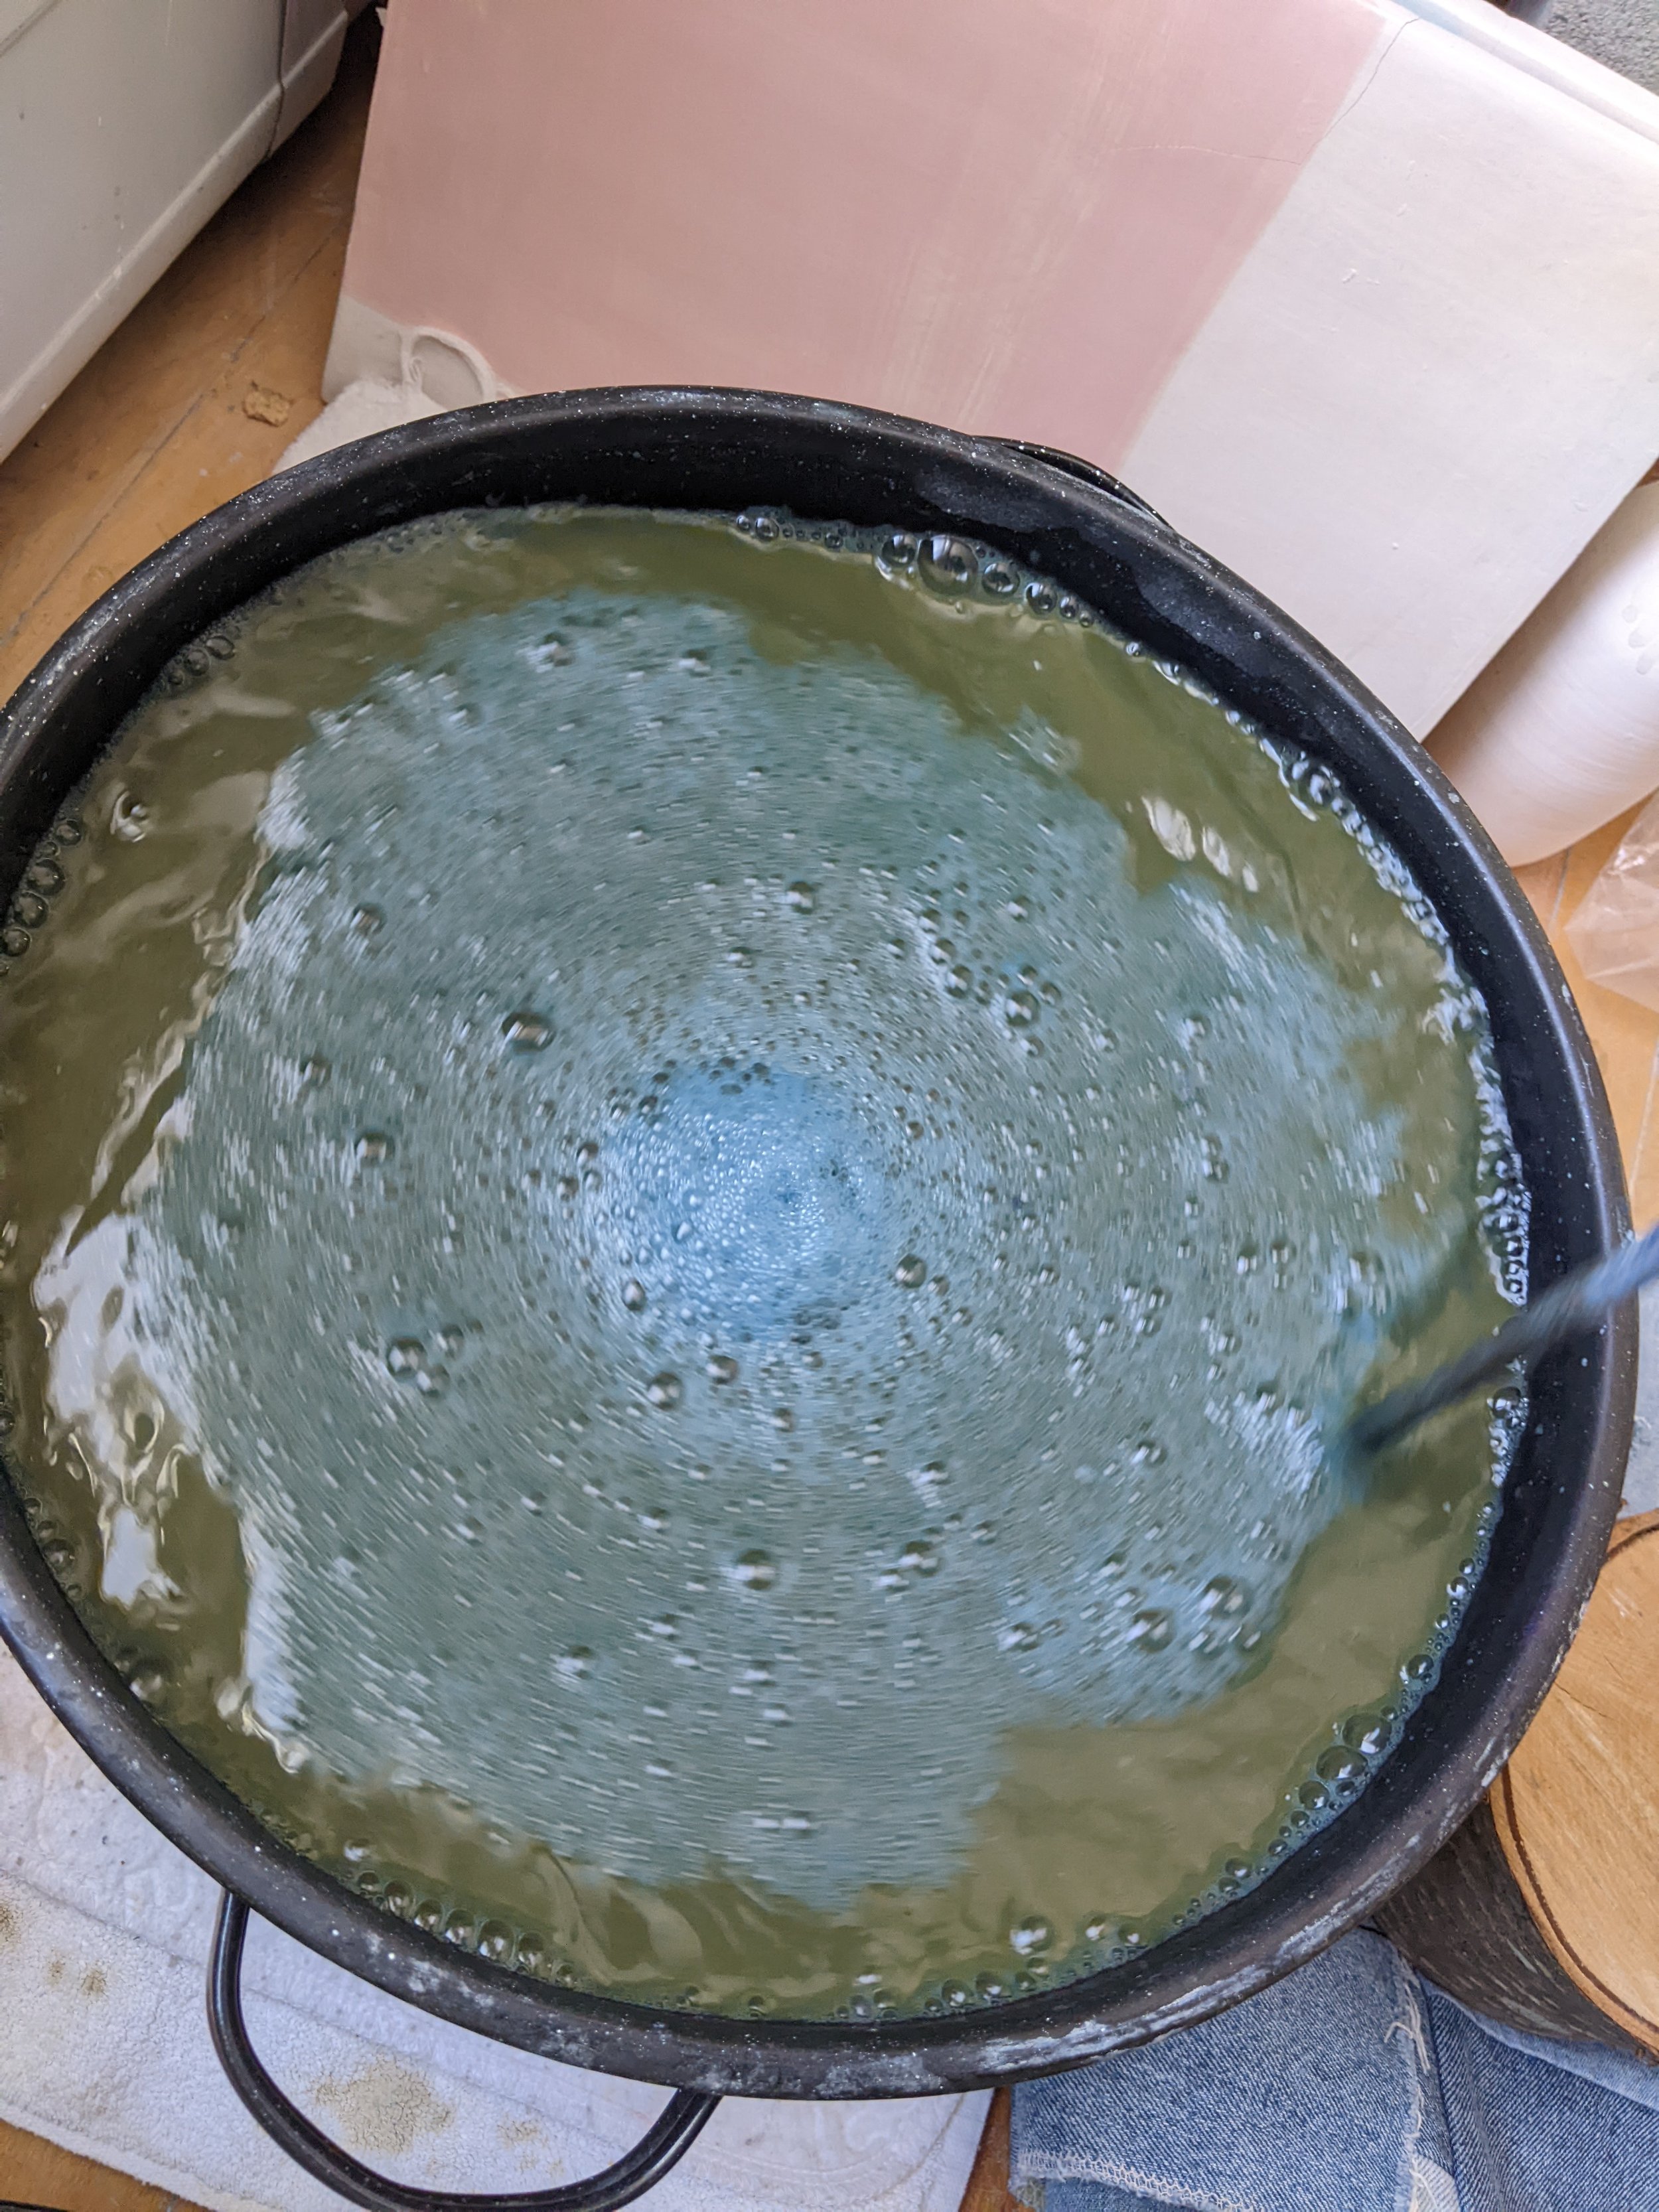
Most dye plants release their dye in water-soluble form when soaked and heated. The dyebath lasts for a few days at most, then gets moldy or loses potency. Light-fast blues are a whole different story. Making an indigo vat is a commitment to tending the vat and coaxing the soluble dye out of the plant. Many dyers report feeling a sense of collaboration or being ‘in relationship’ to the vat. Correctly tended, vats can last years. Incorrectly tended, then can never reach potency or suddenly collapse sending that valuable plant matter down the drain. Extracting the soluble blue dye (called indigotin) from indigofera plants requires some chemistry. To release the indigotin (the dye substance) in soluble form, you’ll need to break down some of the molecular bonds with the aid of a reducing (or antioxidant) agent. The safest, least toxic and least stinky option is a fruit vat, a method reverse-engineered by French chemist and botanist Michel Garcia, based on his study of historical dye techniques. To keep the vat in reduction, meaning the indigo remains water soluble and available to the fiber, I need a reducing agent and that means I need fruit, the more overripe, the better. Today’s tending tasks were to prepare more fructose reduction agent and “feeding the vat” I’ve been tending for nearly nine months.
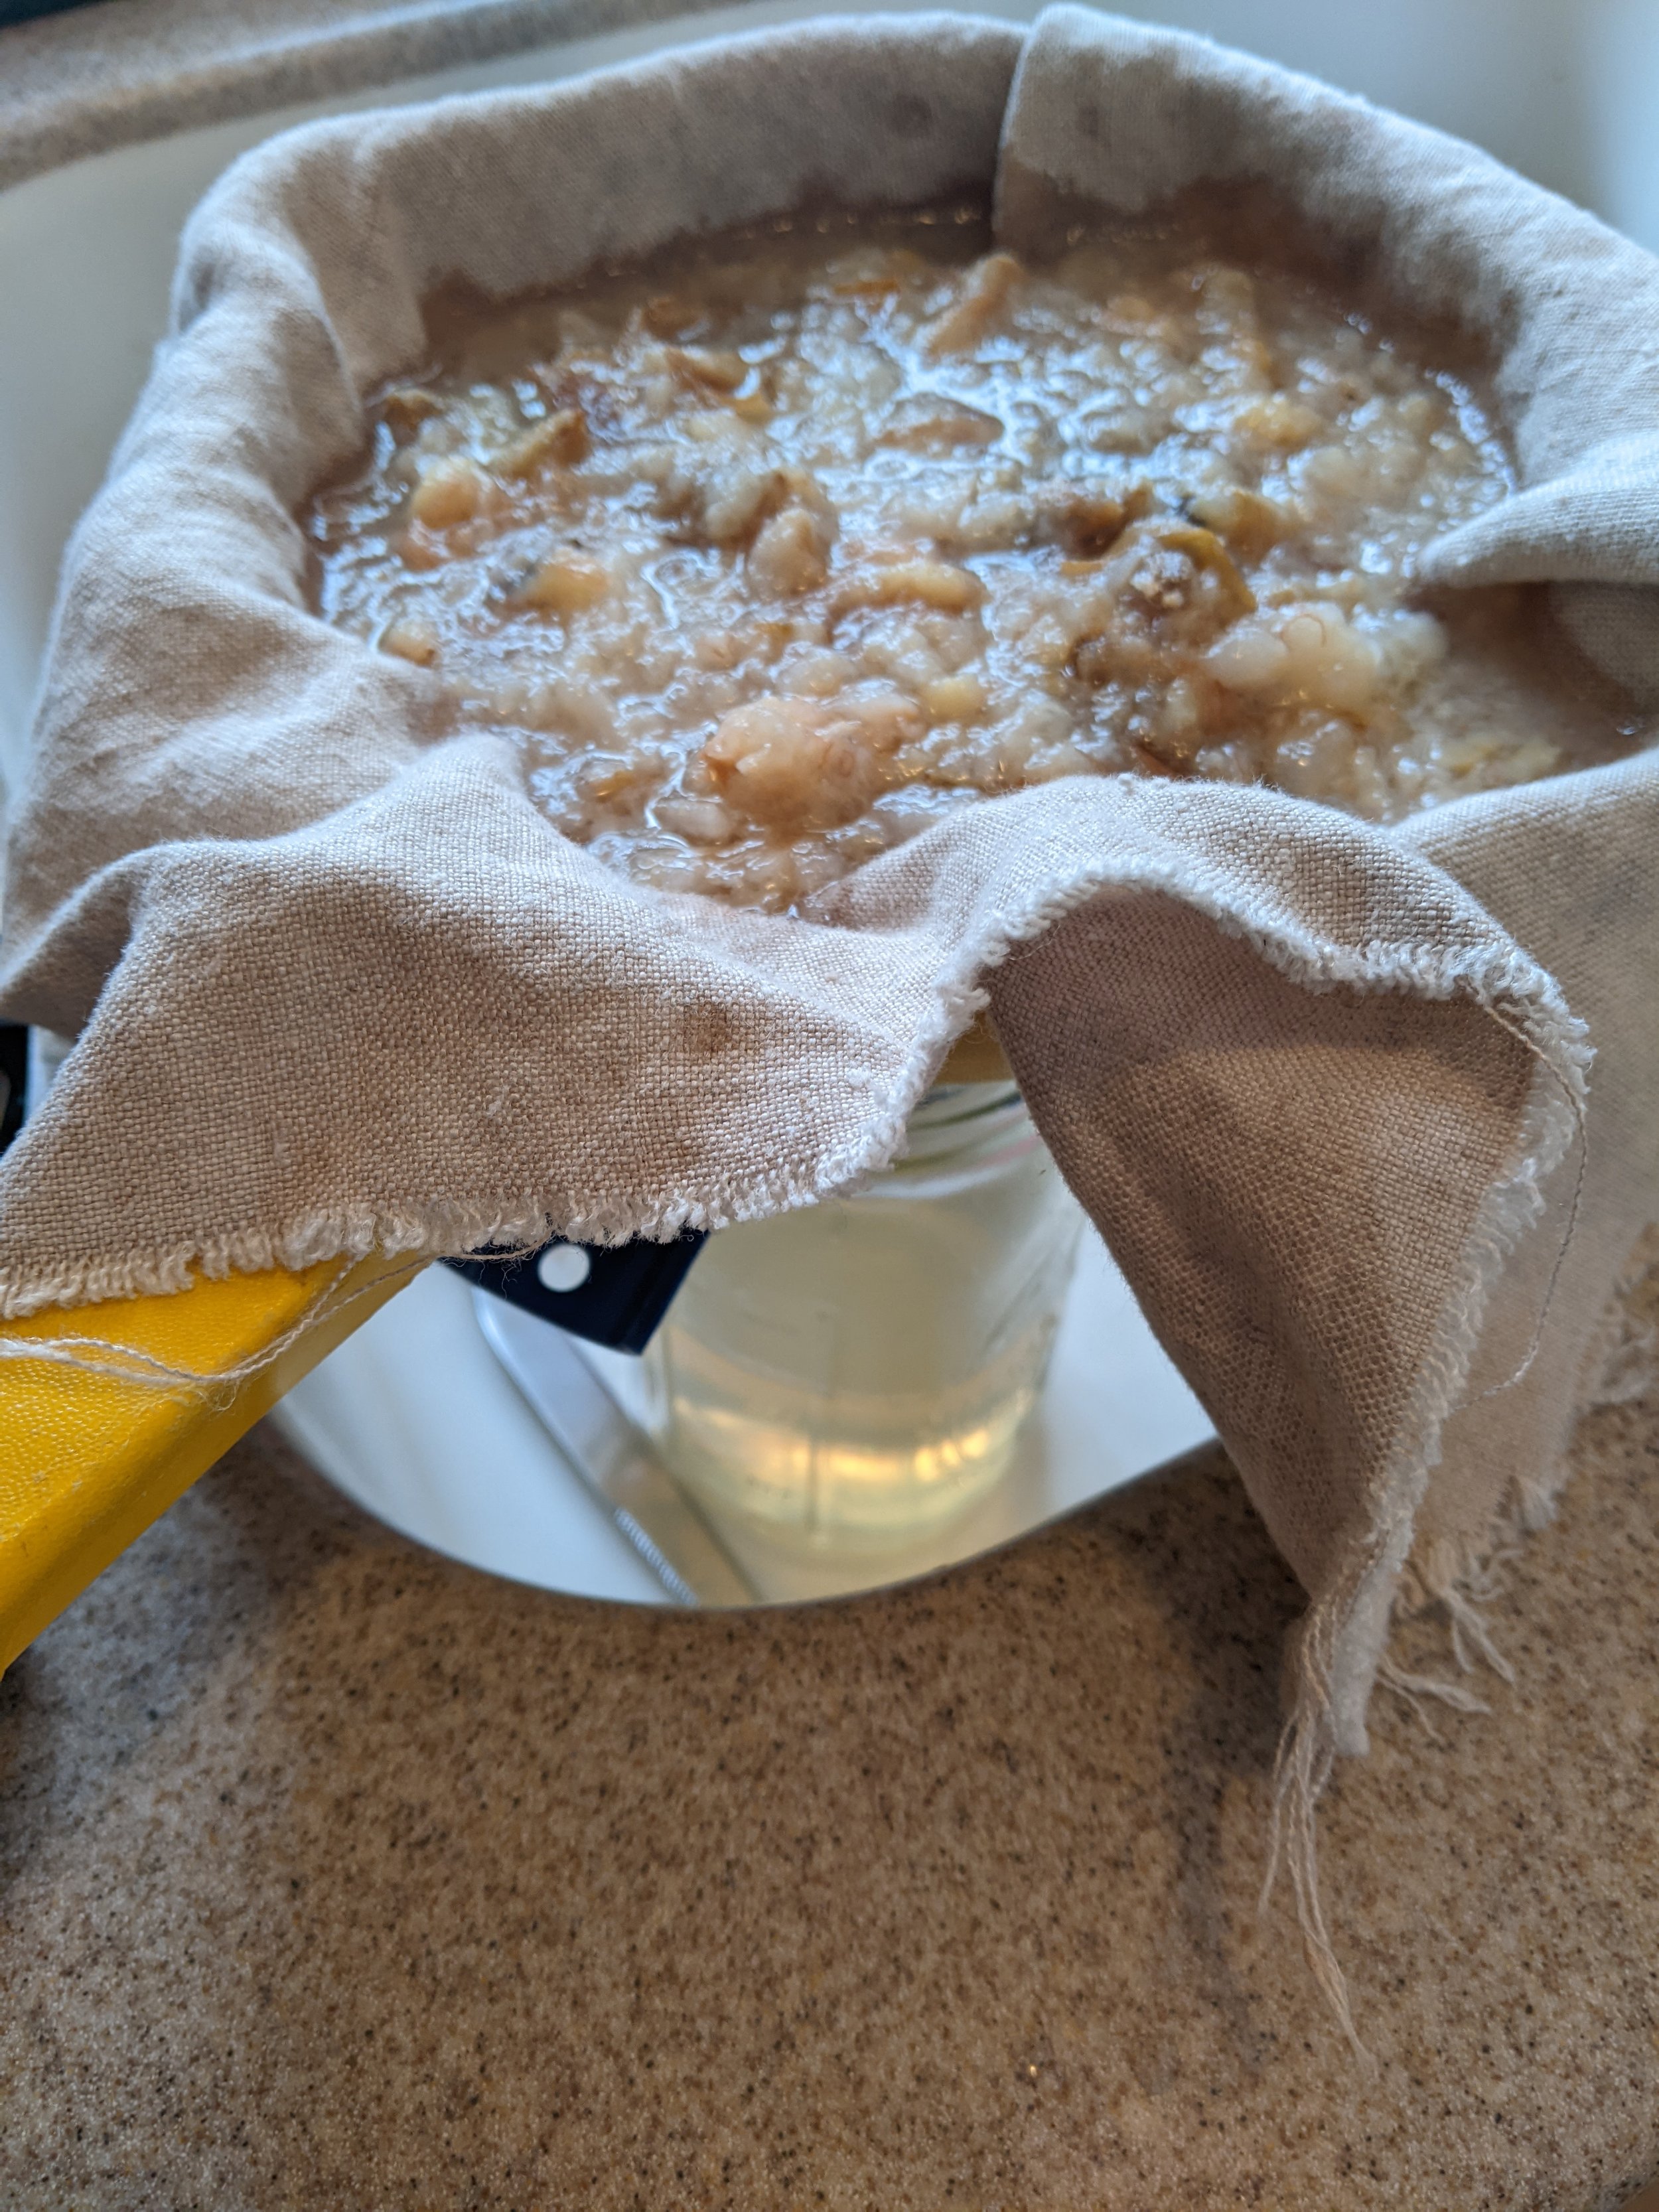
In summer, I collect overly ripe pears from a neighbor’s tree to freeze. When I run low on fructose syrup, I defrost some, add any uneaten brown bananas from our kitchen, then mash, boil and strain. This is added to the vat every few days, and stirred carefully to incorporate. A well-reduced indigo vat will be blue only on the surface. Below the surface, the liquid is amber, gold, brown or occasionally greenish. Undyed fiber goes into the pot, comes out a shade of gold-green and magically turns blue once it hits the air and oxidizes. Now it’s possible I won’t use any blue at all in this blanket, but a commitment to using natural dyes means that if I want blues, I have to integrate the keeping of the vat into my practice. It’s one of the many parallel processes at work on any given day in the studio.
